A small write up on my RetroPi arcade using a iCade as the cabinet.
To do this you will need a couple of items.
1. Raspberry Pi3 Raspberry Pi 3 Model B
2. iCade (Best to look on your favorite auction site)
3. iPad 2 LCD iPad 2 LCD
4. LCD driver HDMI+DVI+VGA LCD Controller Board Driver For iPad 2 LCD HDMI LCD Controller Board Driver For IPAD 2
5. USB arcade controller interface Arcade USB Encoder
6. Power Supply (DIY)
7. Touch Sensor Digital Touch Sensor Module Capacitive
8. Sanwa Button Sanwa Denshi Original OBSN-24
9. Speakers 57mm Speaker
10. Power Supply Module LM2596HV DC-DC Adjustable Step Down
11. Miscellaneous Board for the back panlel, solder, wire, ETC.
Software
RetroPie for Pi2 and 3
Use this guide to get all setup
OFFICIAL Installation Guide
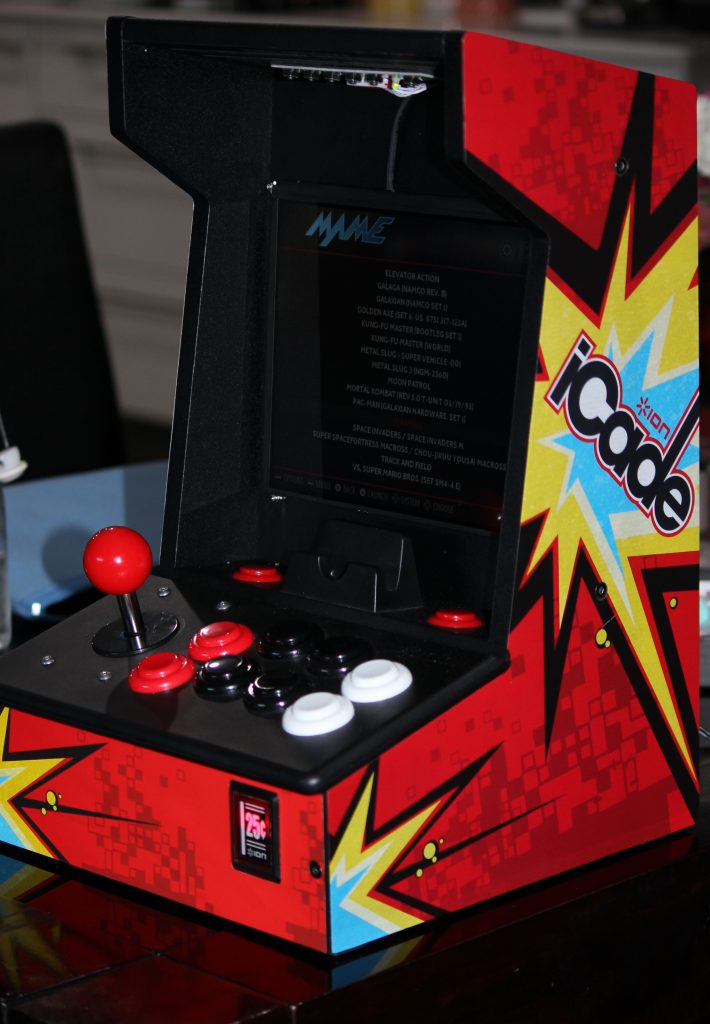
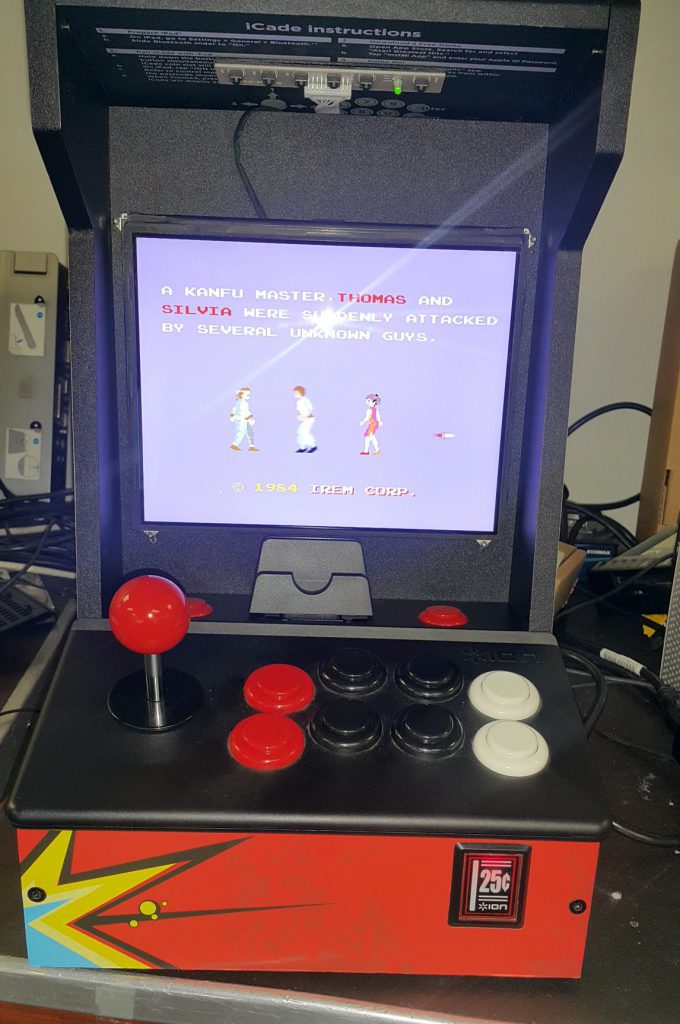
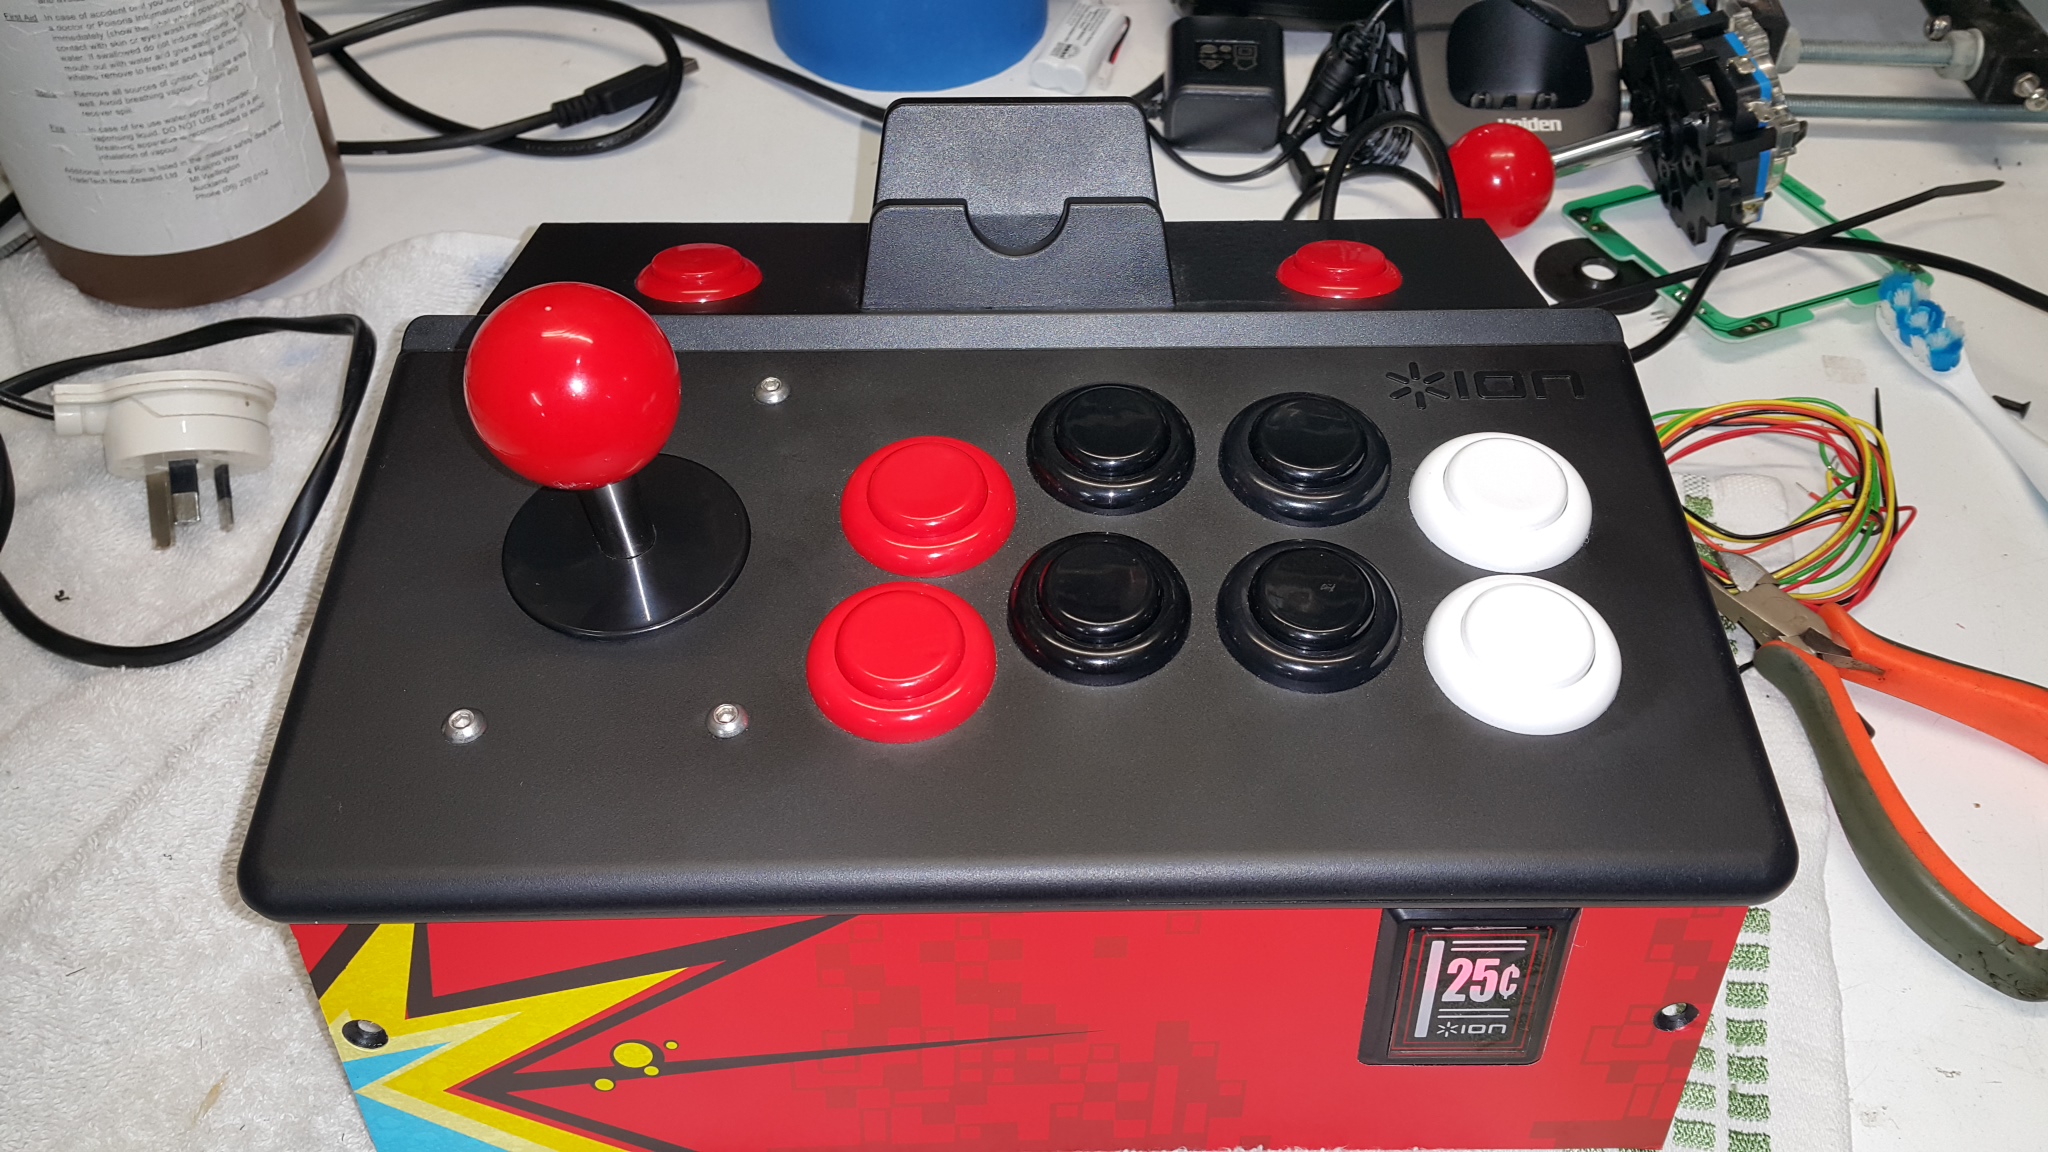
Here is an image of my working system. Download is over 2GB so it might take a while
Johns RetroPi
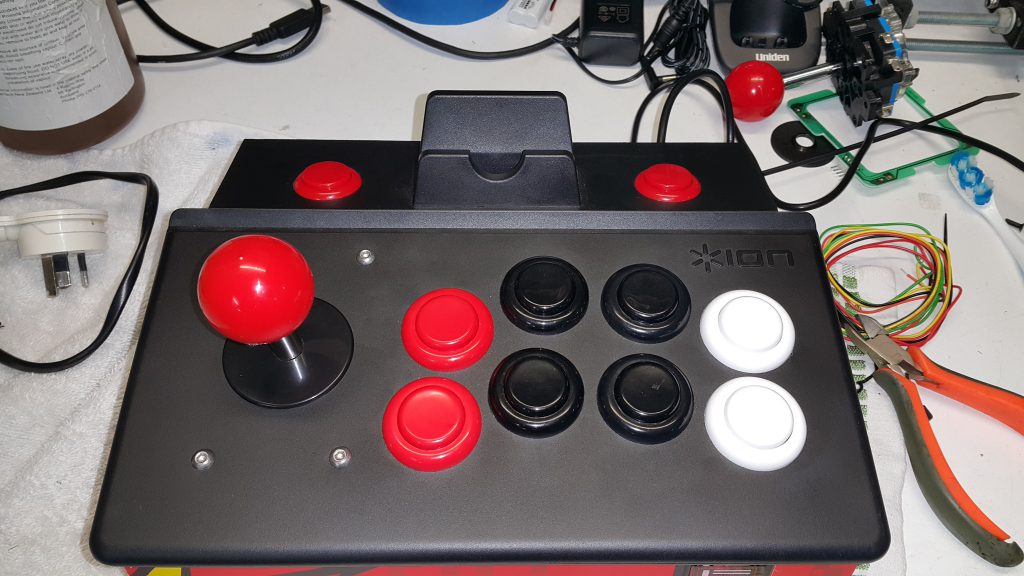
I started by modifying the controller assembly. This involves stripping out the original PCB and all the wires connected to the switches leave the wires and connector on the joystick as these are reused.
Next I marked and drilled the 2 holes for the two new buttons (use a hole saw of the correct size) (These are for Player 1 and Player 2)
in the picture below you can see the two new smaller buttons. The choice of button is important due to the available depth
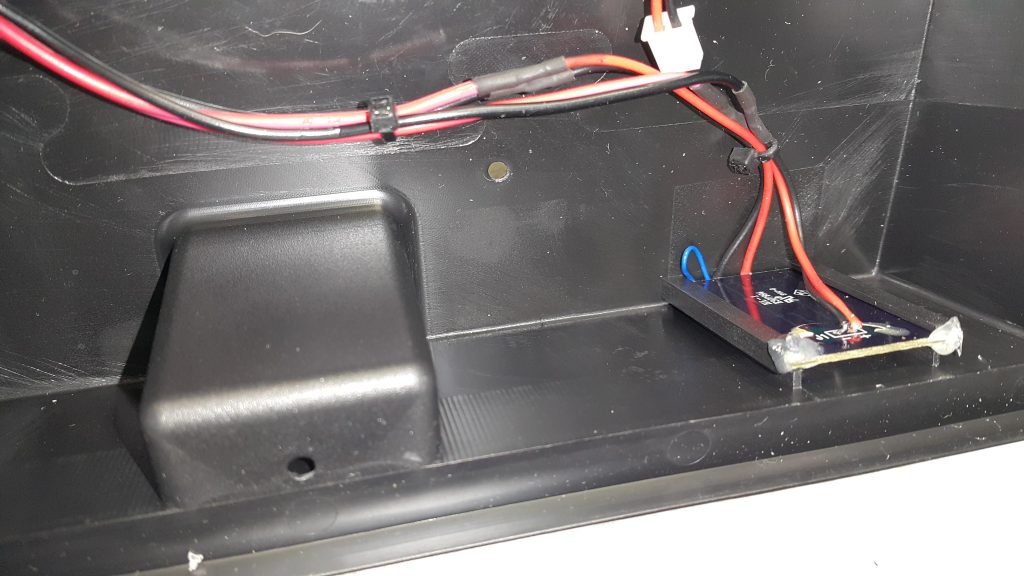
Next fit the touch sensor to do this remove the 3 pin connector on the sensor and replace it with 3 wires. The sensor fits behind the 25c sign and is fixed in place with thin double sided tape slide the LED PCB back into place and secure with a dab of hot glue.
The Touch sensor is used for the coin button.
Wired up controller panel with the USB controller installed.
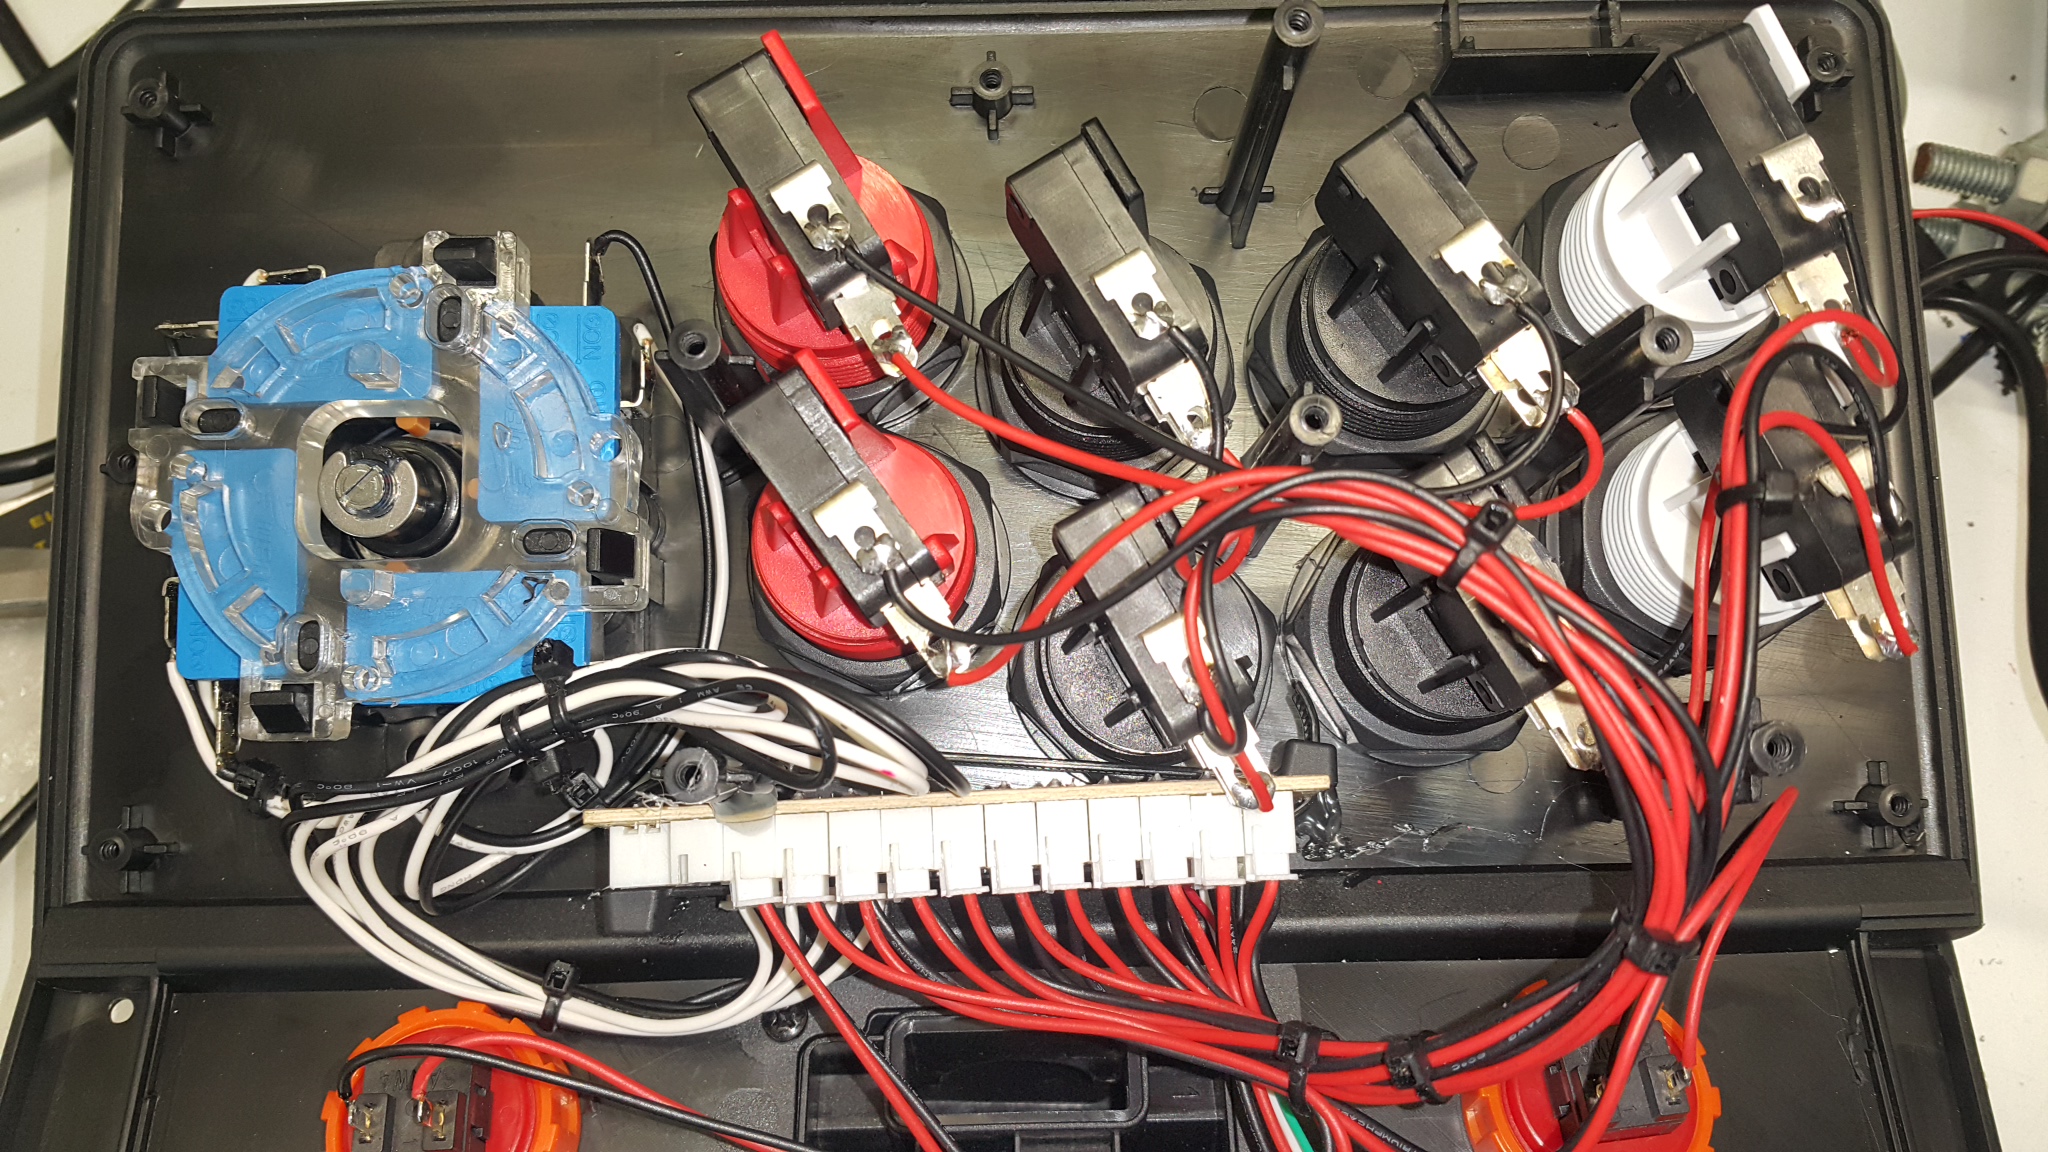
Completed panel with the Led on (You can just see the black area on the bottom half due to the touch sensor)
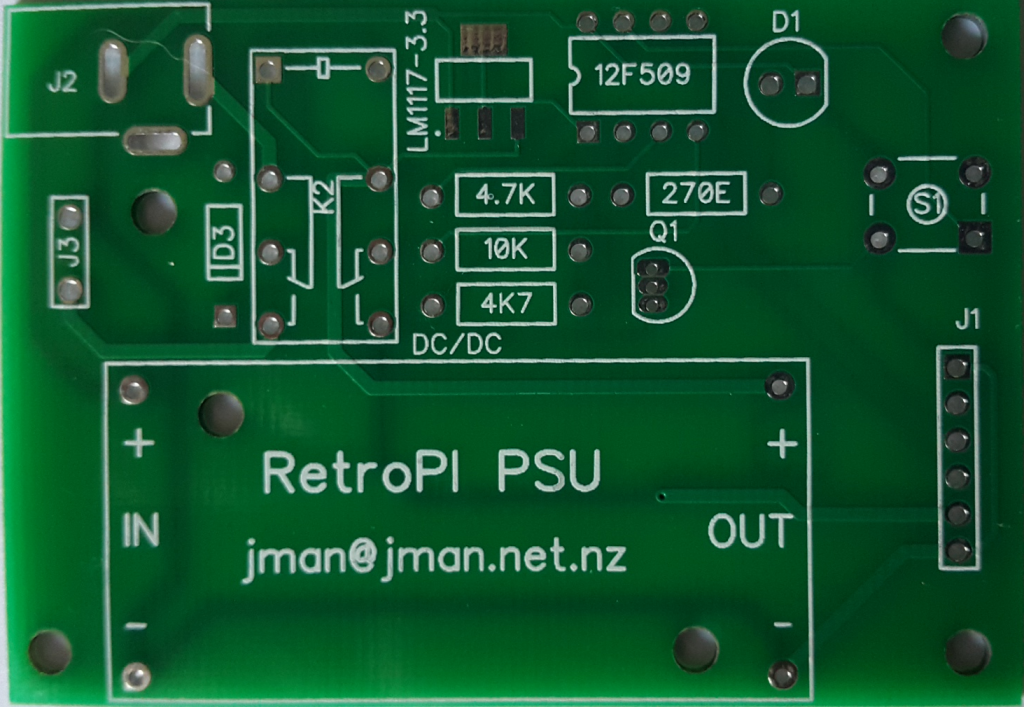
I decided to build my own PSU controller that uses the software already installed in RetroPi this only had few requirements
1. Press button for start-up and shutdown
2. Long press (Over 10 seconds) power off without shutdown signal
3. Power off if system is shutdown via Emulation station
Basically it’s another PI ATX style PSU feed from a 12Vdc power supply.
I used a PIC12F509 has I have a few of these on hand. The hex file and source is here PIATX.
Circuit diagram is below.
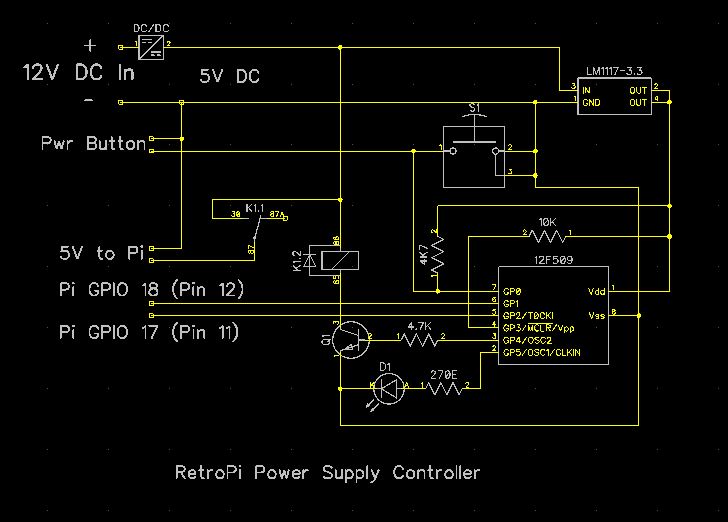
PSU-Controller
Feel free to make this using whatever construction method suits you. I will upload a PCB design once I have it completed.
My current version looks like this
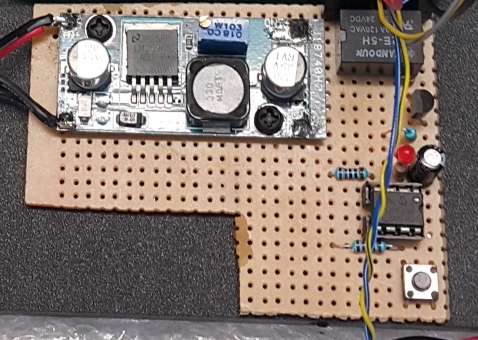
PCB’s have arrived Gerber’s are here PiPSU
Small issue I forgot the 100uf cap across the PIC power pins (+1 and -8) easy fix is mount it on bottom of the PCB

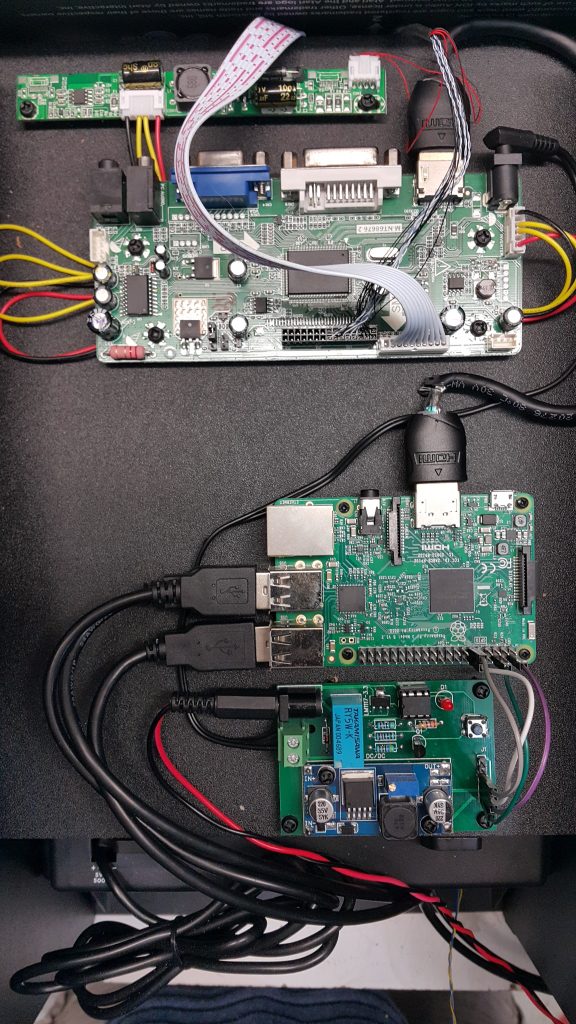
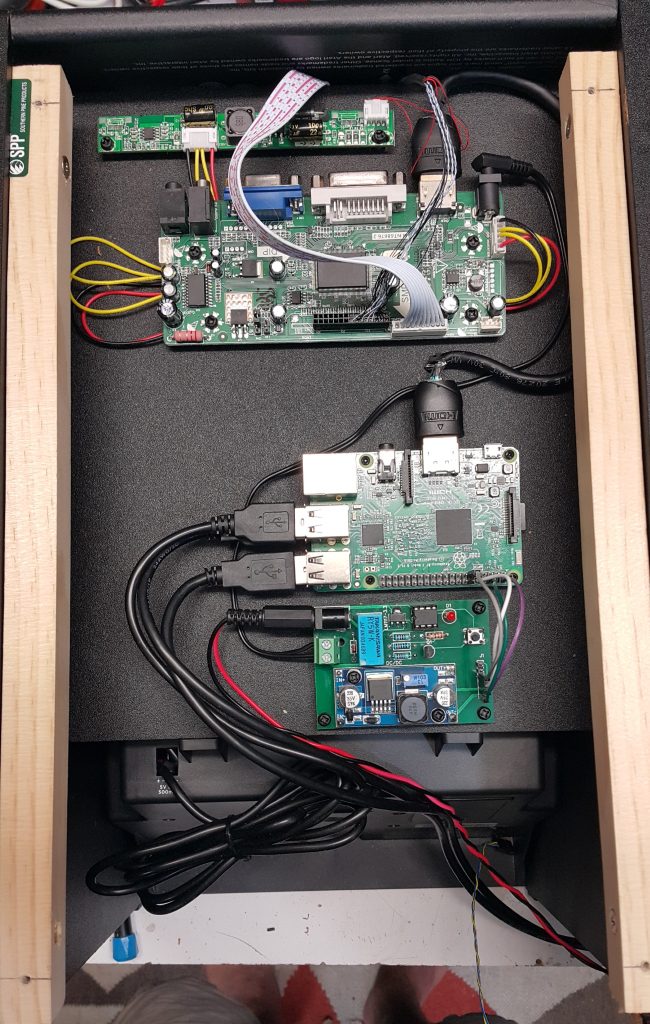
All the boards mounted on the rear panel and wired up. The LCD control panel is mounted under the hinged lid.
Mount a 20mm x 20mm x length of rear panel piece of wood to each side of the frame so the rear panel has something to mount onto
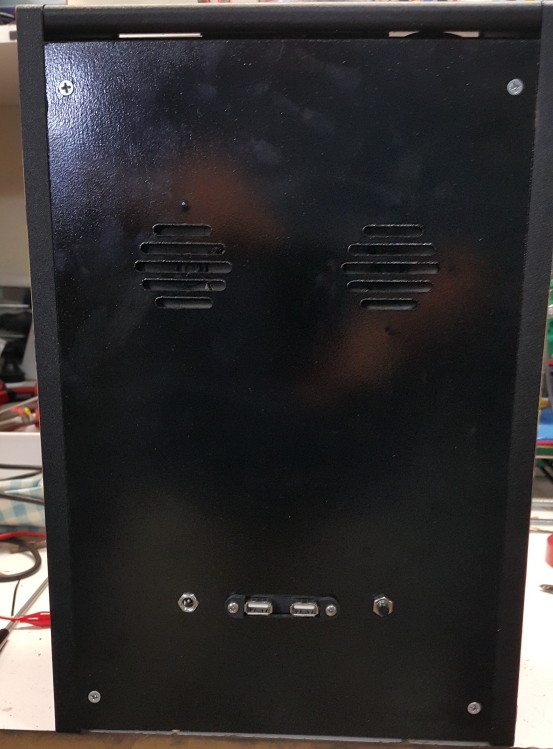
Rear of iCade with newly painted back panel in place. The back panel accommodates the Speakers, Power button, USB ports and DC jack
DXF for the back panel is here Arcade back panel
Still to do is to make a black acrylic front panel with a clear insert for the LCD panel
Comments are welcome :
Excellent stuff. I’m going to try this.
Great job, very clean installation! I did something very similar for my mini nes retropie project, which uses a pic12f629 to manage power on/off, animating an led for the sequences, as well as pwm for a small fan for the overclocked raspi. I love how these cheap, widely available single board computers have changed the scope of projects that hobbyists can complete for a reasonable price. I was planning on building a tabletop arcade from scratch, but now I’ll keep my eye out for one of these icades at the local thrift stores.
this is a very classic game console!